Annotations#
An annotation refers to a character, word or paragraph extracted from a document.
Human annotations#
Annotations assign text and visual information in a document to a business context. When you create an annotation in the SmartView, you assign the business context by using the label set and label.
You can create an annotation by clicking and dragging the cursor over a rectangular area you want to annotate. When you save the annotation, Konfuzio will recognize the text within the selected box. When you click edit again, you will see the red box which was used to select the text, which you can move and resize. If you select an area without including any text, the red box represents the so-called bounding box, which is used for the AI training.
If you prefer to have fine-grained control over the selection, you can also create an annotation by clicking the words you want to select one by one. When you click edit again, you will see the red box which was used to select the text, which you can move and resize.
After the annotation is created you will see it on the annotations page:
When you click on the annotation, you will be redirected to the document and the annotation you just created. Furthermore, you can click on the link to the Label. In the following example, we normalize any annotation of the label to be a date value. After you save the label you can preview the normalized result on the annotations Page.

Automated Annotations#
Humans create annotations as described above. However, as soon as one extraction AI is available, annotations can be created automatically. There are two automated ways and one manual way to create annotations:
Upload the document.
Train an extraction AI: After an extraction AI was trained and evaluated, this extraction AI will create annotations in all documents that are assigned to the test and training dataset. This is especially helpful if you missed annotating information in one document but did so in others.
Rerun extraction on the document page. This is handy in case the document was uploaded before the extraction AI is available.
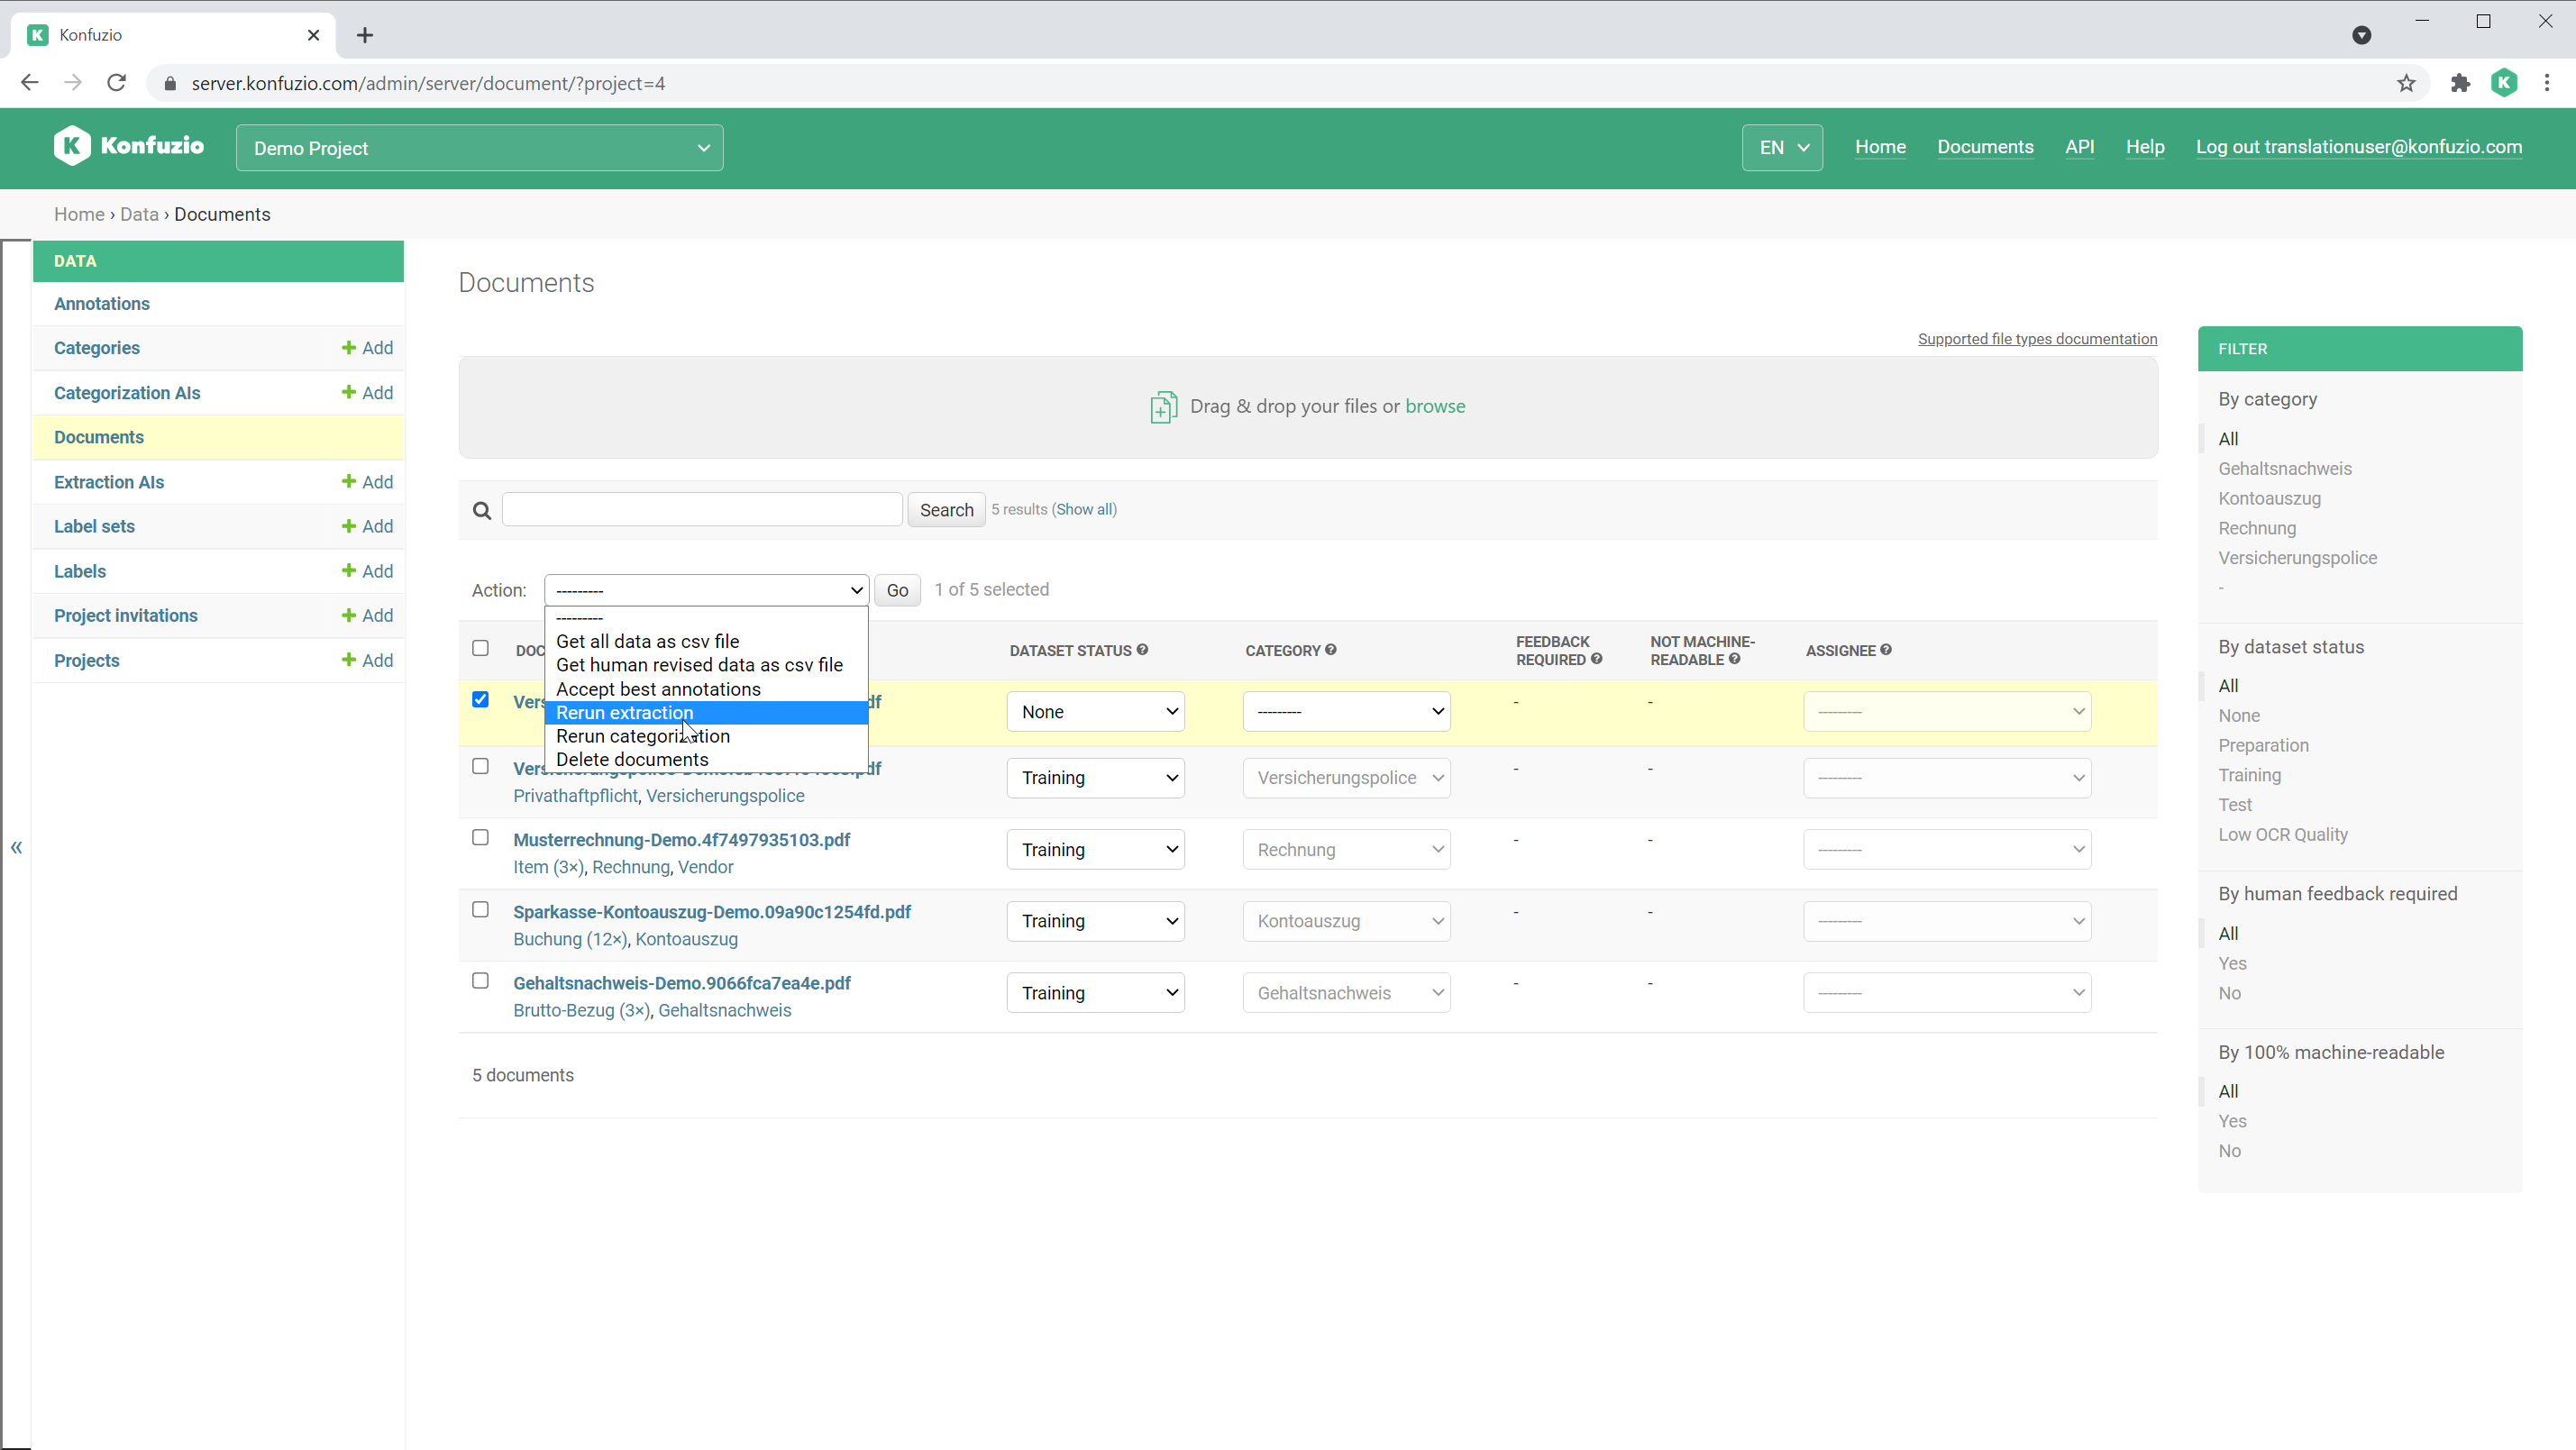
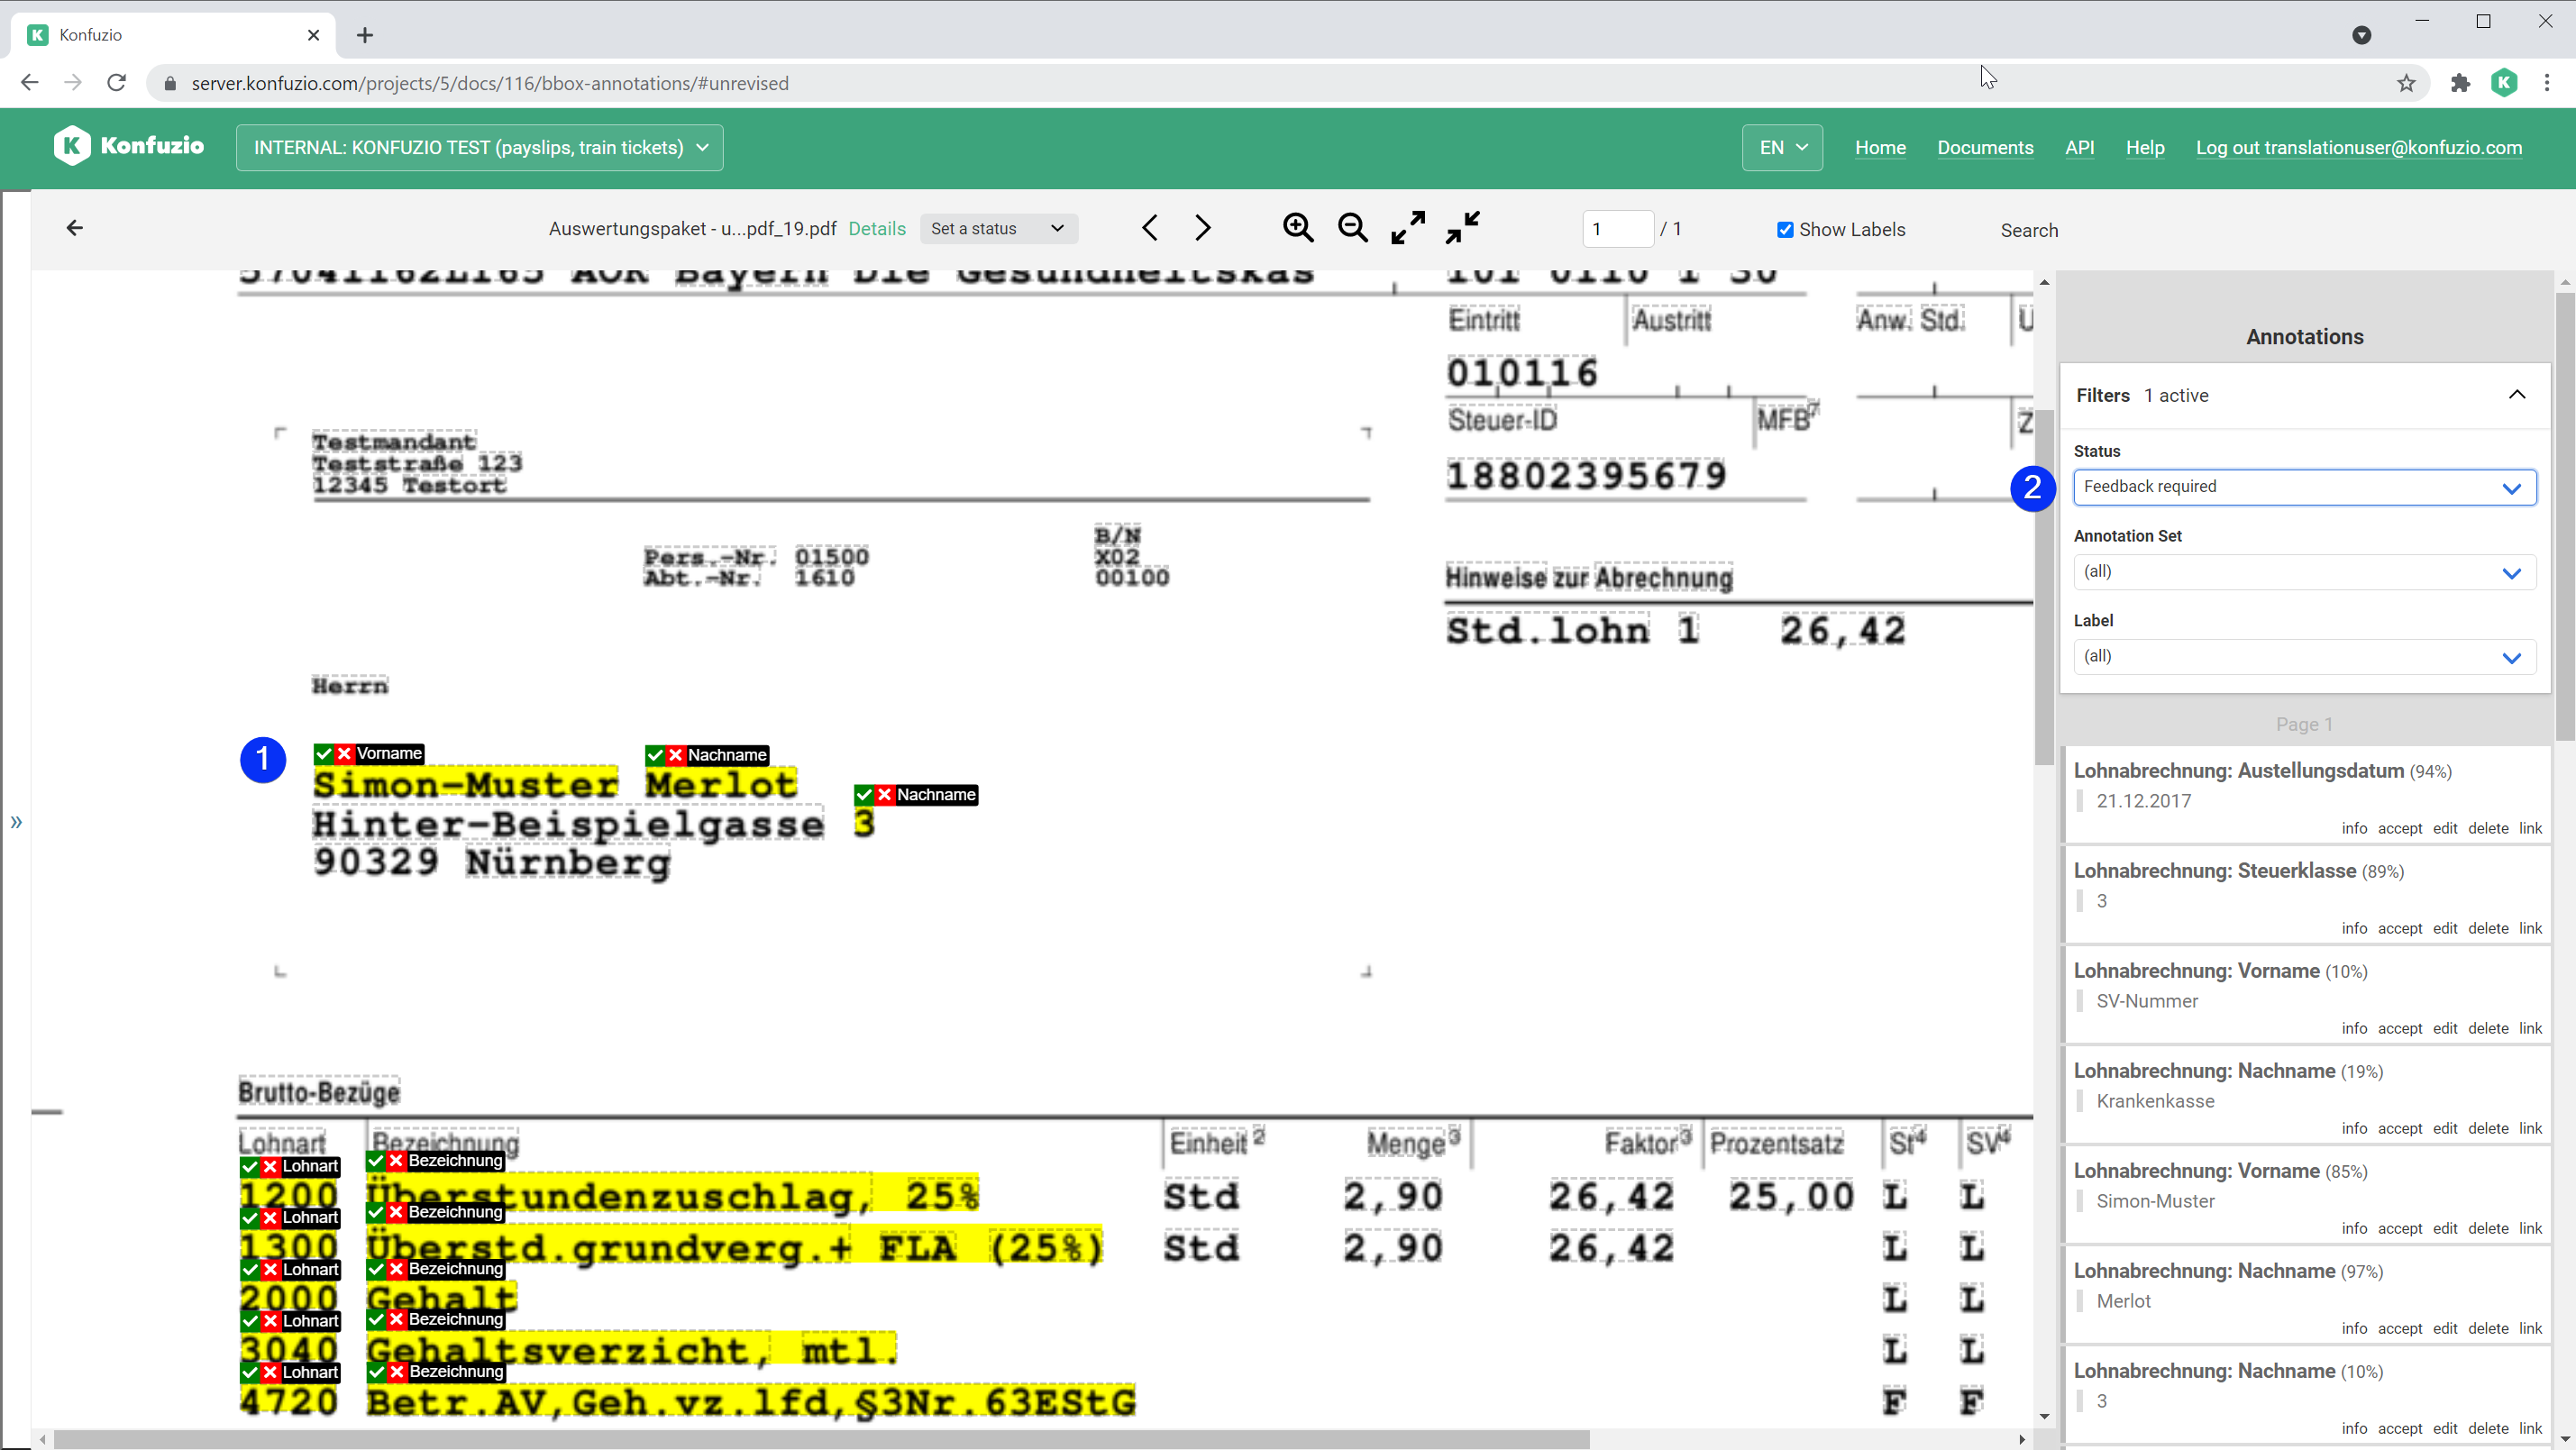
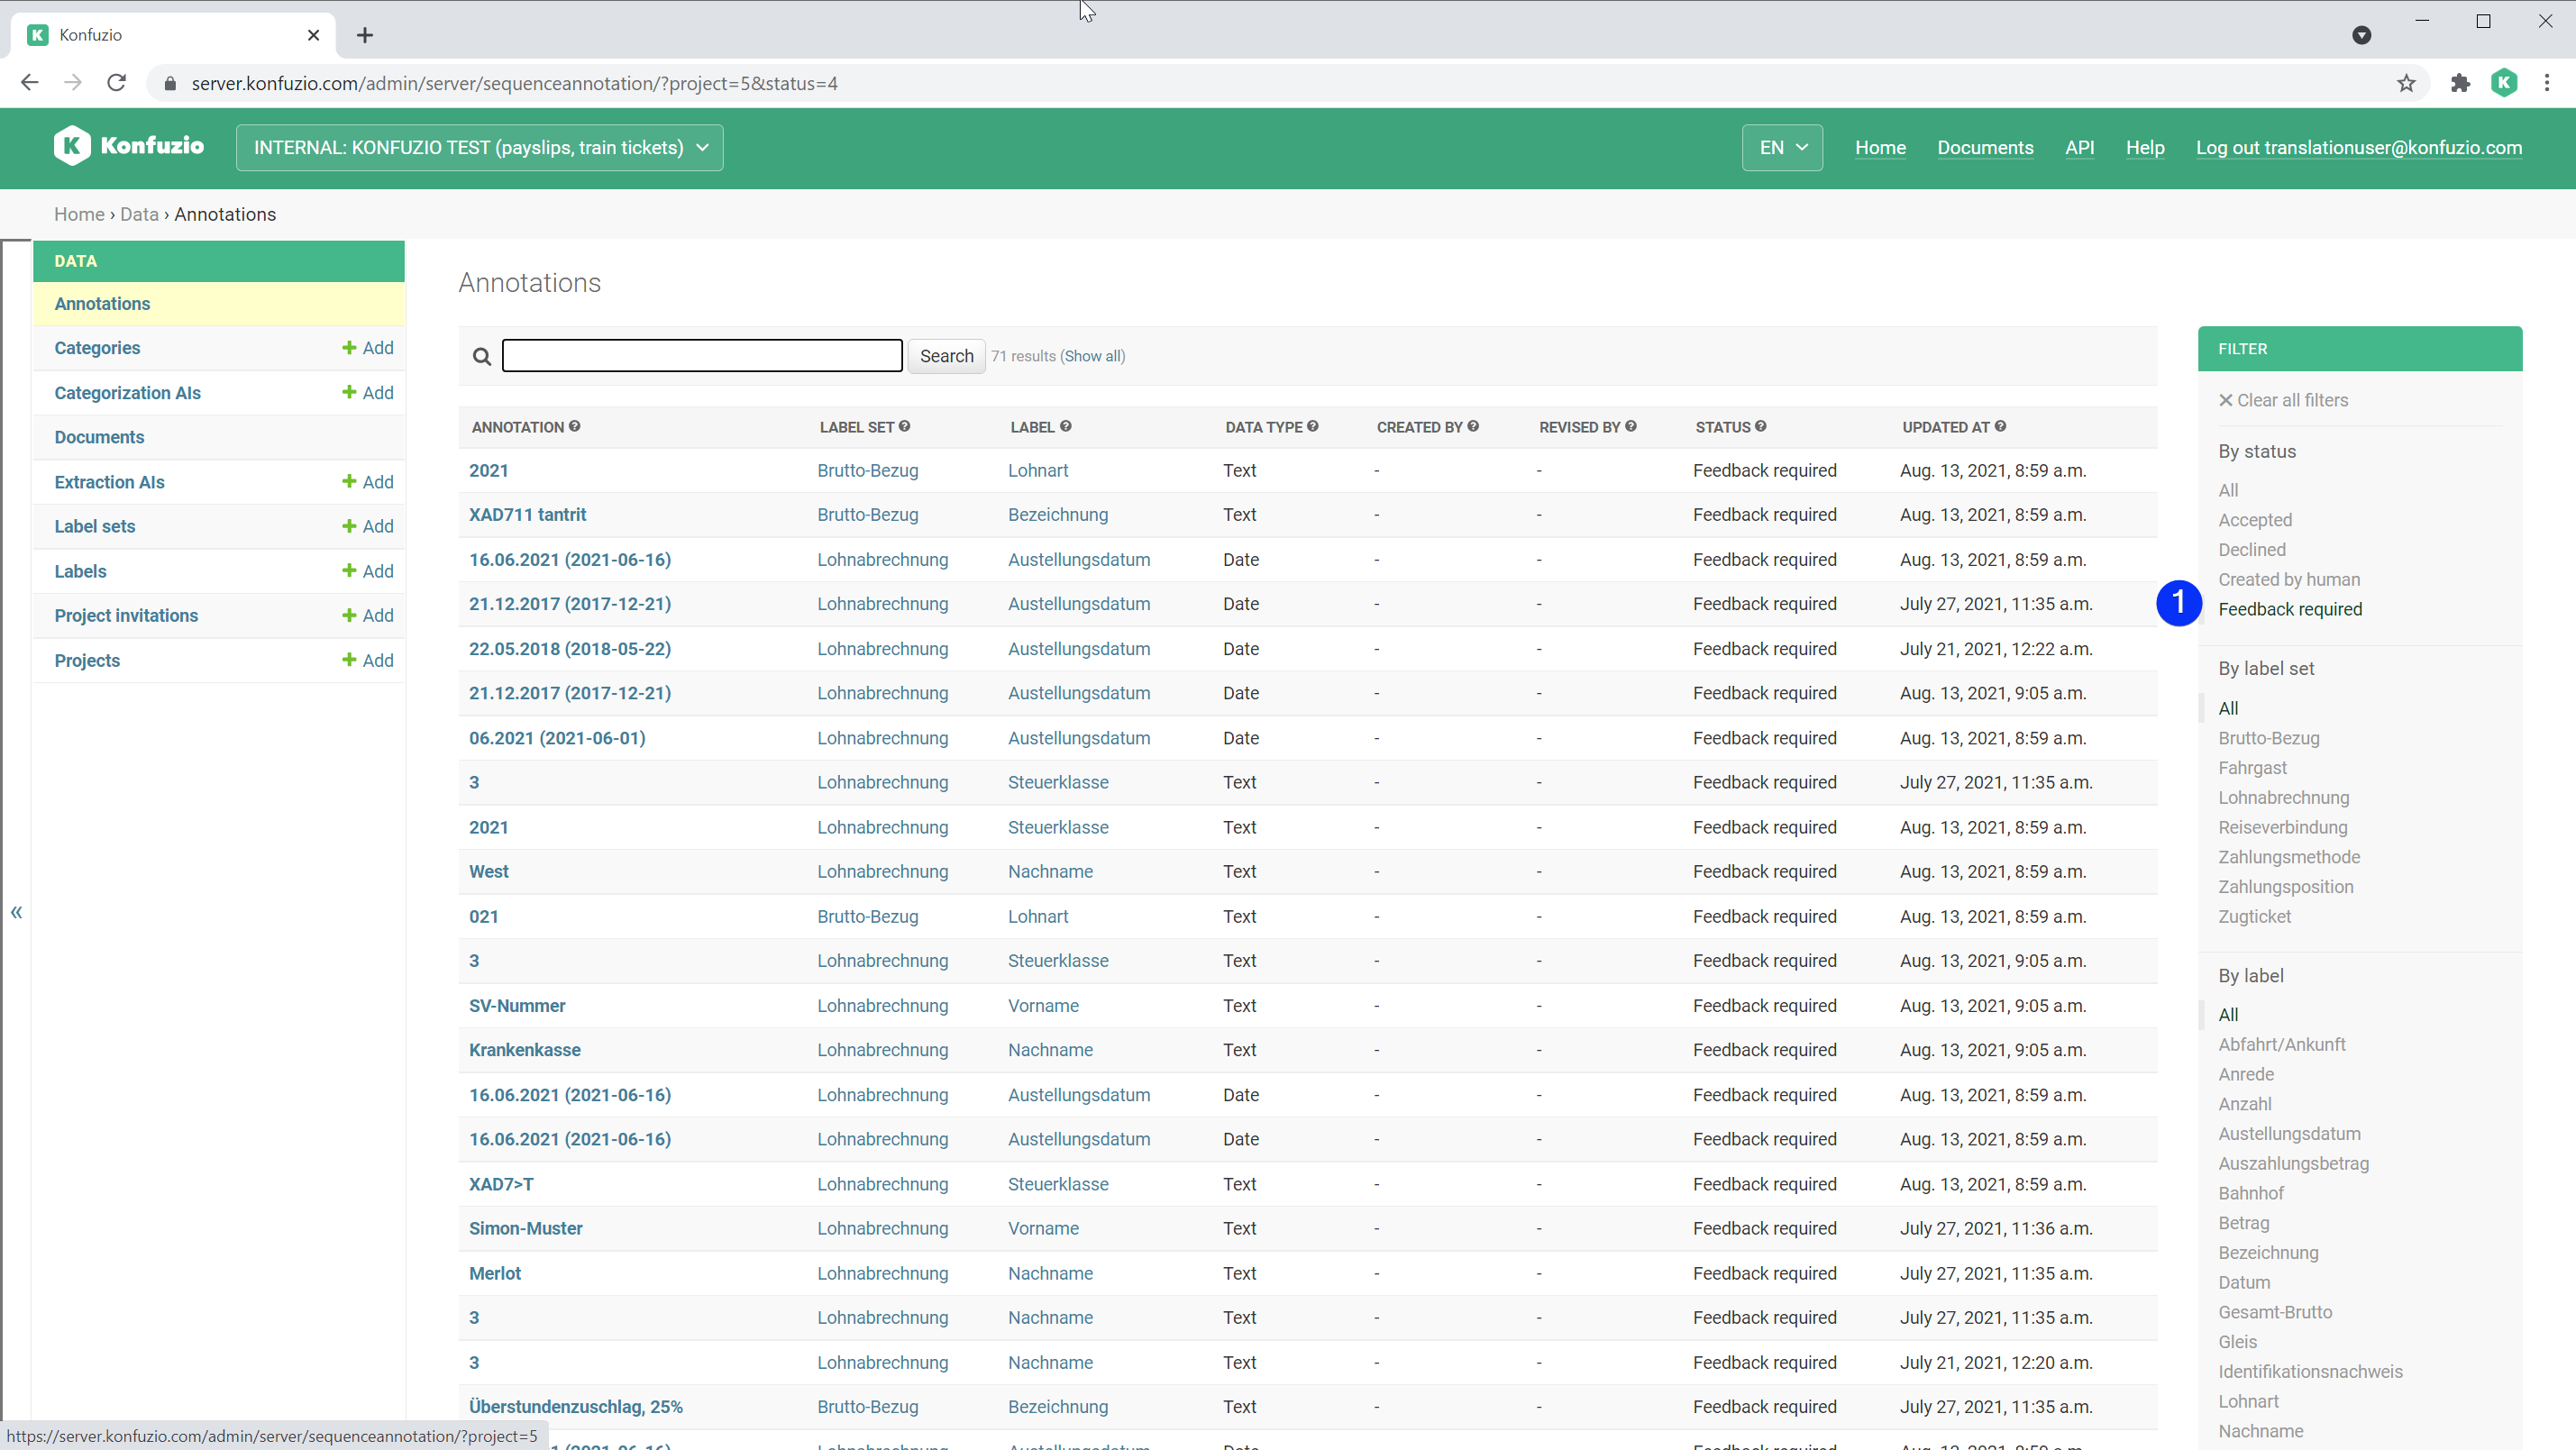
As soon the annotation is created, it will have the status Feedback required. As you will see a green tick box or red cross you will be able to provide feedback, see 1. Within one document you can use the filter to see all annotations which require feedback by humans, see 2.
You can also filter for all annotations in one project which require feedback on the annotation page across all documents.
To summarize, automated annotations are assigned to one status of three:
Feedback required#
When an extraction AI created this annotation. In the API and the SDK this state is represented by revised=False and is_correct=False.
Accepted#
When a human accepts feedback required annotation. In the API and the SDK this state is represented by revised=True and is_correct=True.
Declined#
When a human declines feedback required Annotation. In the API and the SDK this state is represented by revised=True and is_correct=False.
Created by human#
When a human creates a new annotation. In the API and the SDK this state is represented by revised=False and is_correct=True.
Annotation Filters#
Within a document, you can use filters to select the annotations you want to focus on.
Annotations that cannot be normalized, i.e. not-machine readable.
Annotations that require feedback by humans, i.e. feedback required.
Deduplicated annotations, i.e. top annotations.
Annotations that were created by the extraction AI but declined by a human during feedback, i.e. negative.
Annotation Translated String#
⚠️ To maintain backward consistency, the concepts of ‘mapping extracted data to custom data’ and ‘translated string’ are used interchangeably and mean the same thing.
This feature allows you to map extracted data from a Document into custom values that better align with your business needs.
The goal of this feature is to provide you with more control over the outputted data, without being limited to only the exact values that appear in your Documents.
Use cases#
Here are some use cases to illustrate this feature:
Converting certain values into IDs:
FRA–>0;ORY–>1Converting words into acronyms:
Male–>M;Female–>FReplacing words with True or False:
Insured–>True;Not insured–>FalseTranslating words to a different language:
Male(EN) –>Männlich(DE)
How to use this feature#
This functionality can be enabled in your Project settings, and this can only be done by a Project Manager. Furthermore, only Project Managers can add, edit and remove translated strings for Annotations.
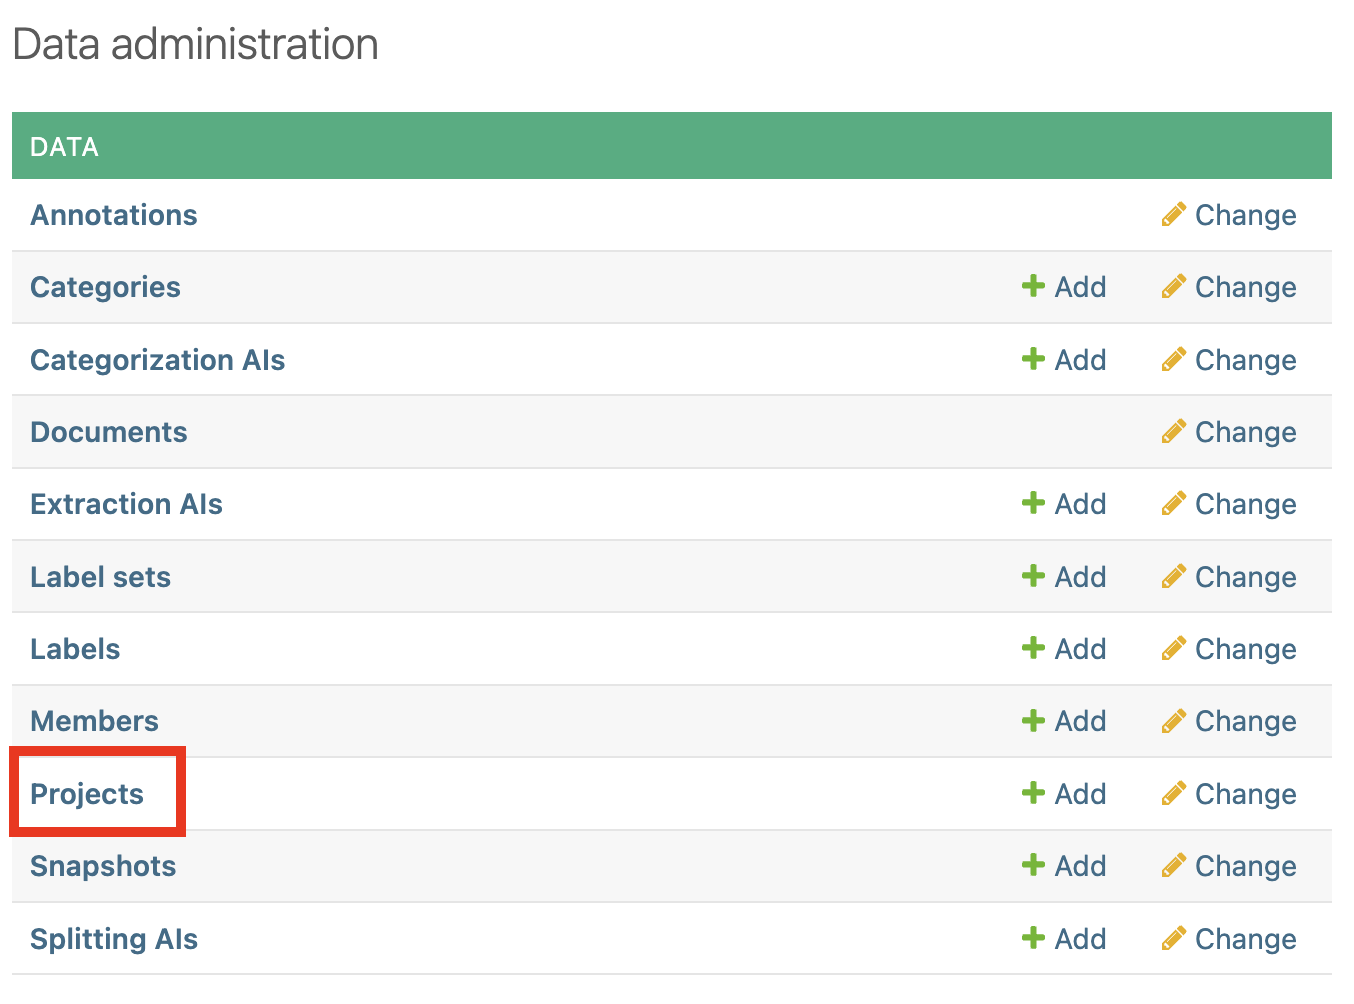
You can find all the Projects that you are a member of by accessing the “Projects” section from your admin panel.
After you choose the corresponding Project from the list, you will find the option to enable and disable the translated strings feature under the “Other” section, at the bottom of the page.

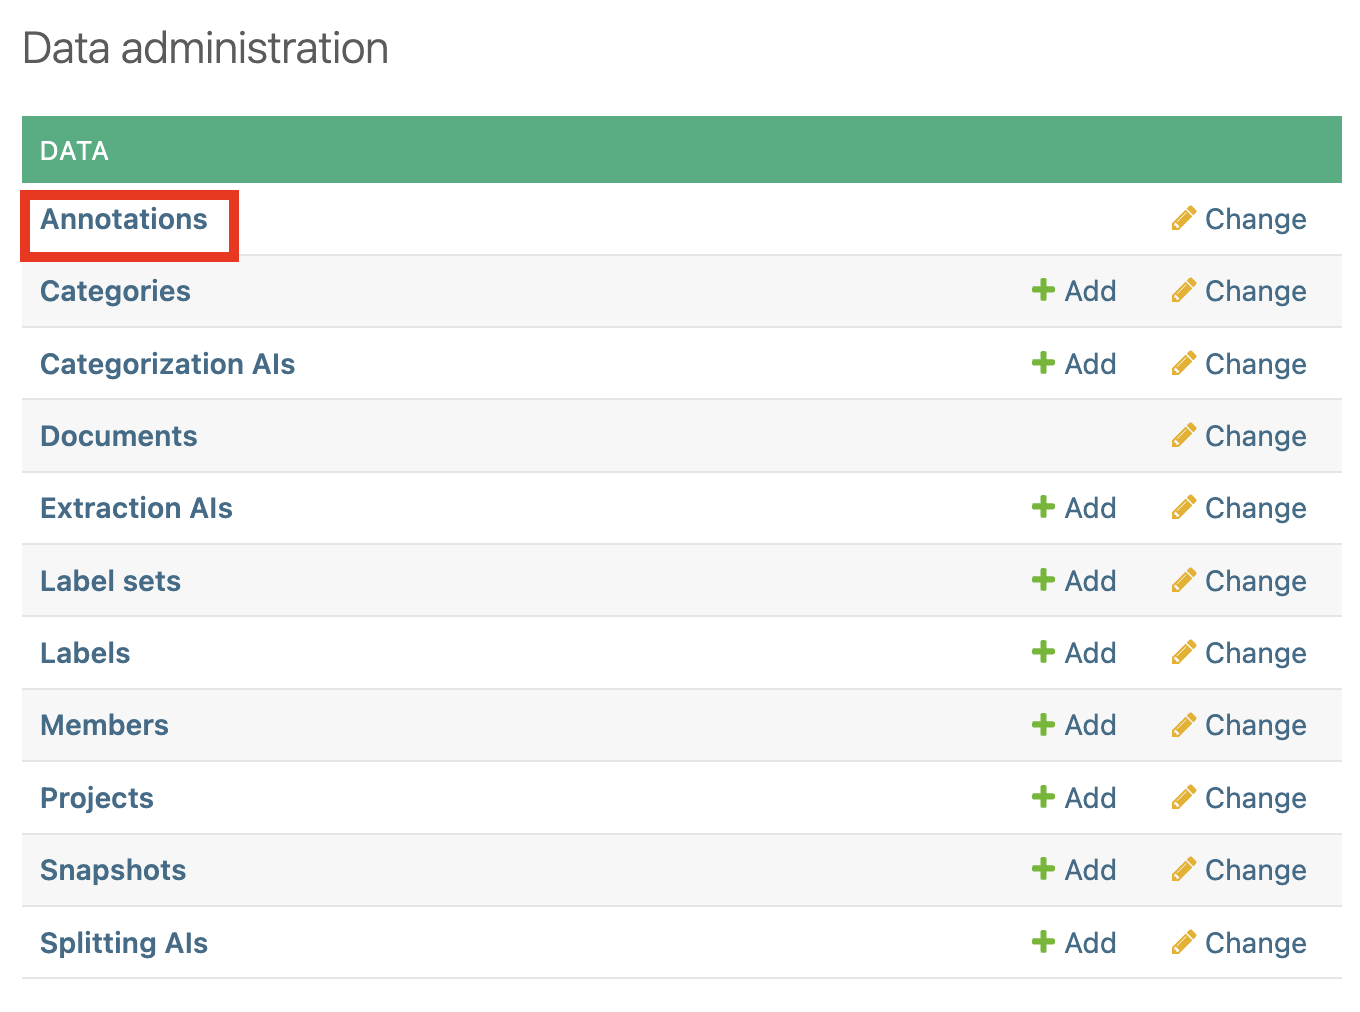
Once activated, you can go back to the admin panel, where you can access the list of Annotations for the Project.
You will see a “Translation” column, with a corresponding link for each Annotation to add or edit the translated strings.
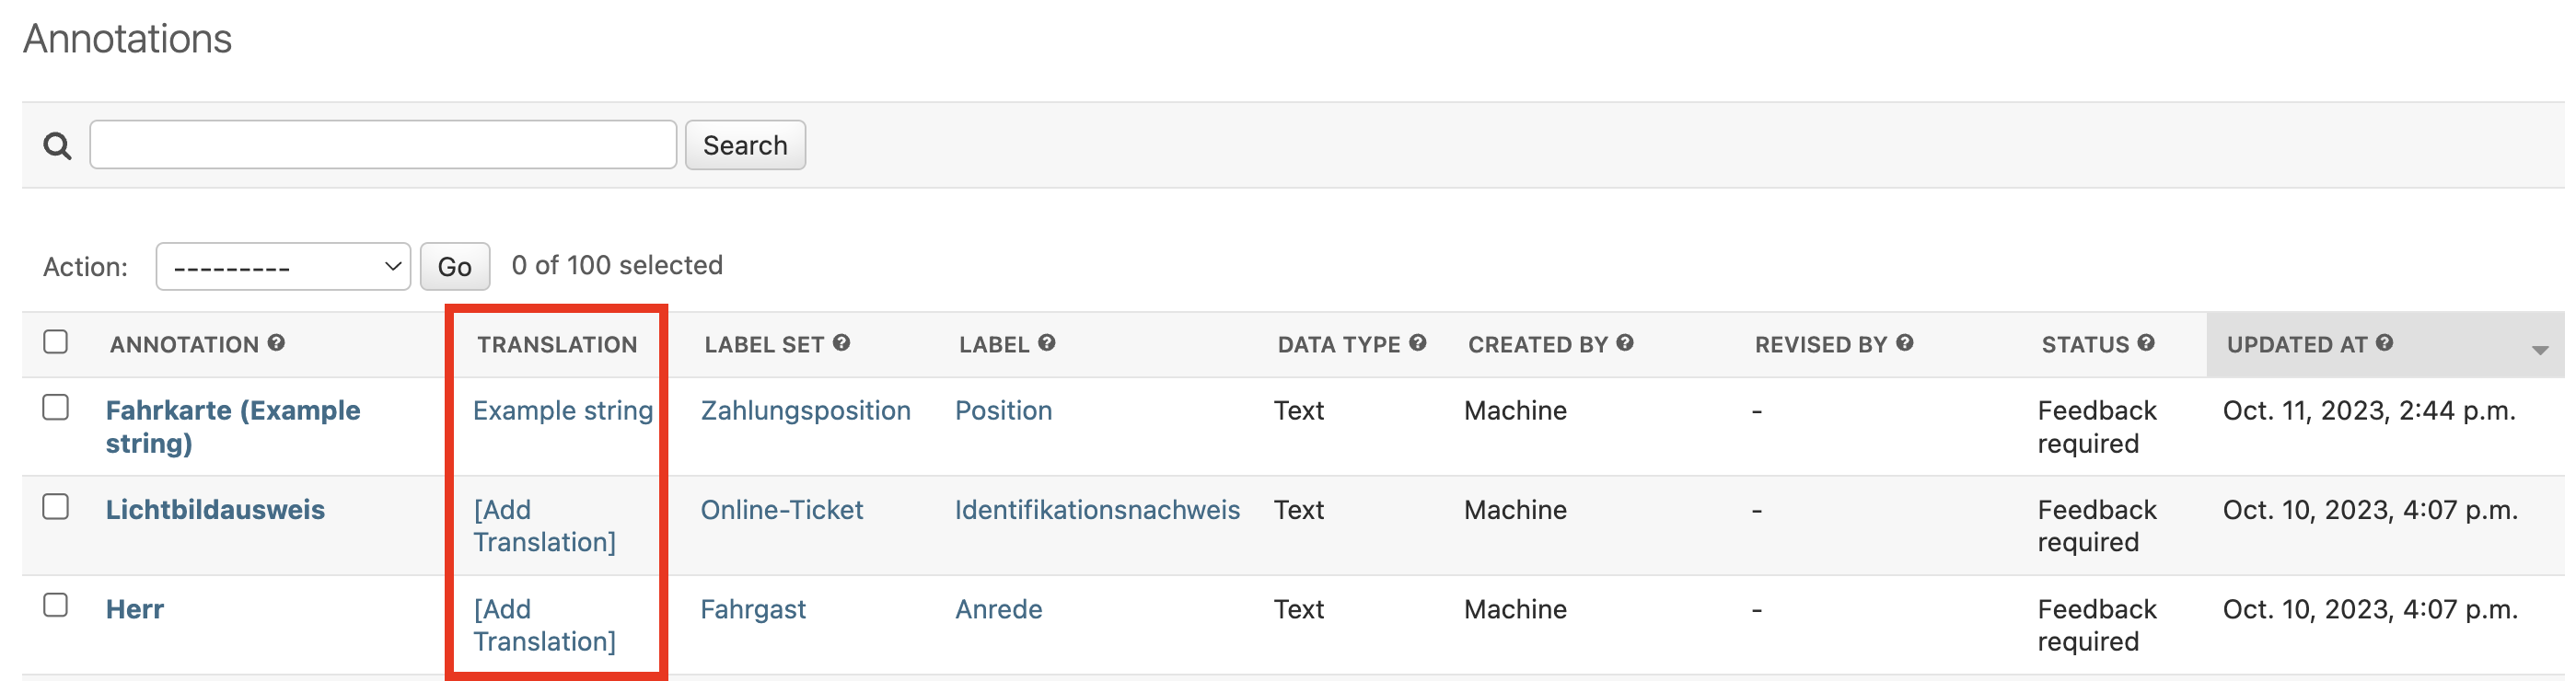
Clicking the beforementioned link will allow you to view and edit the Annotation, and you can add your custom text in the “Translated String” field.
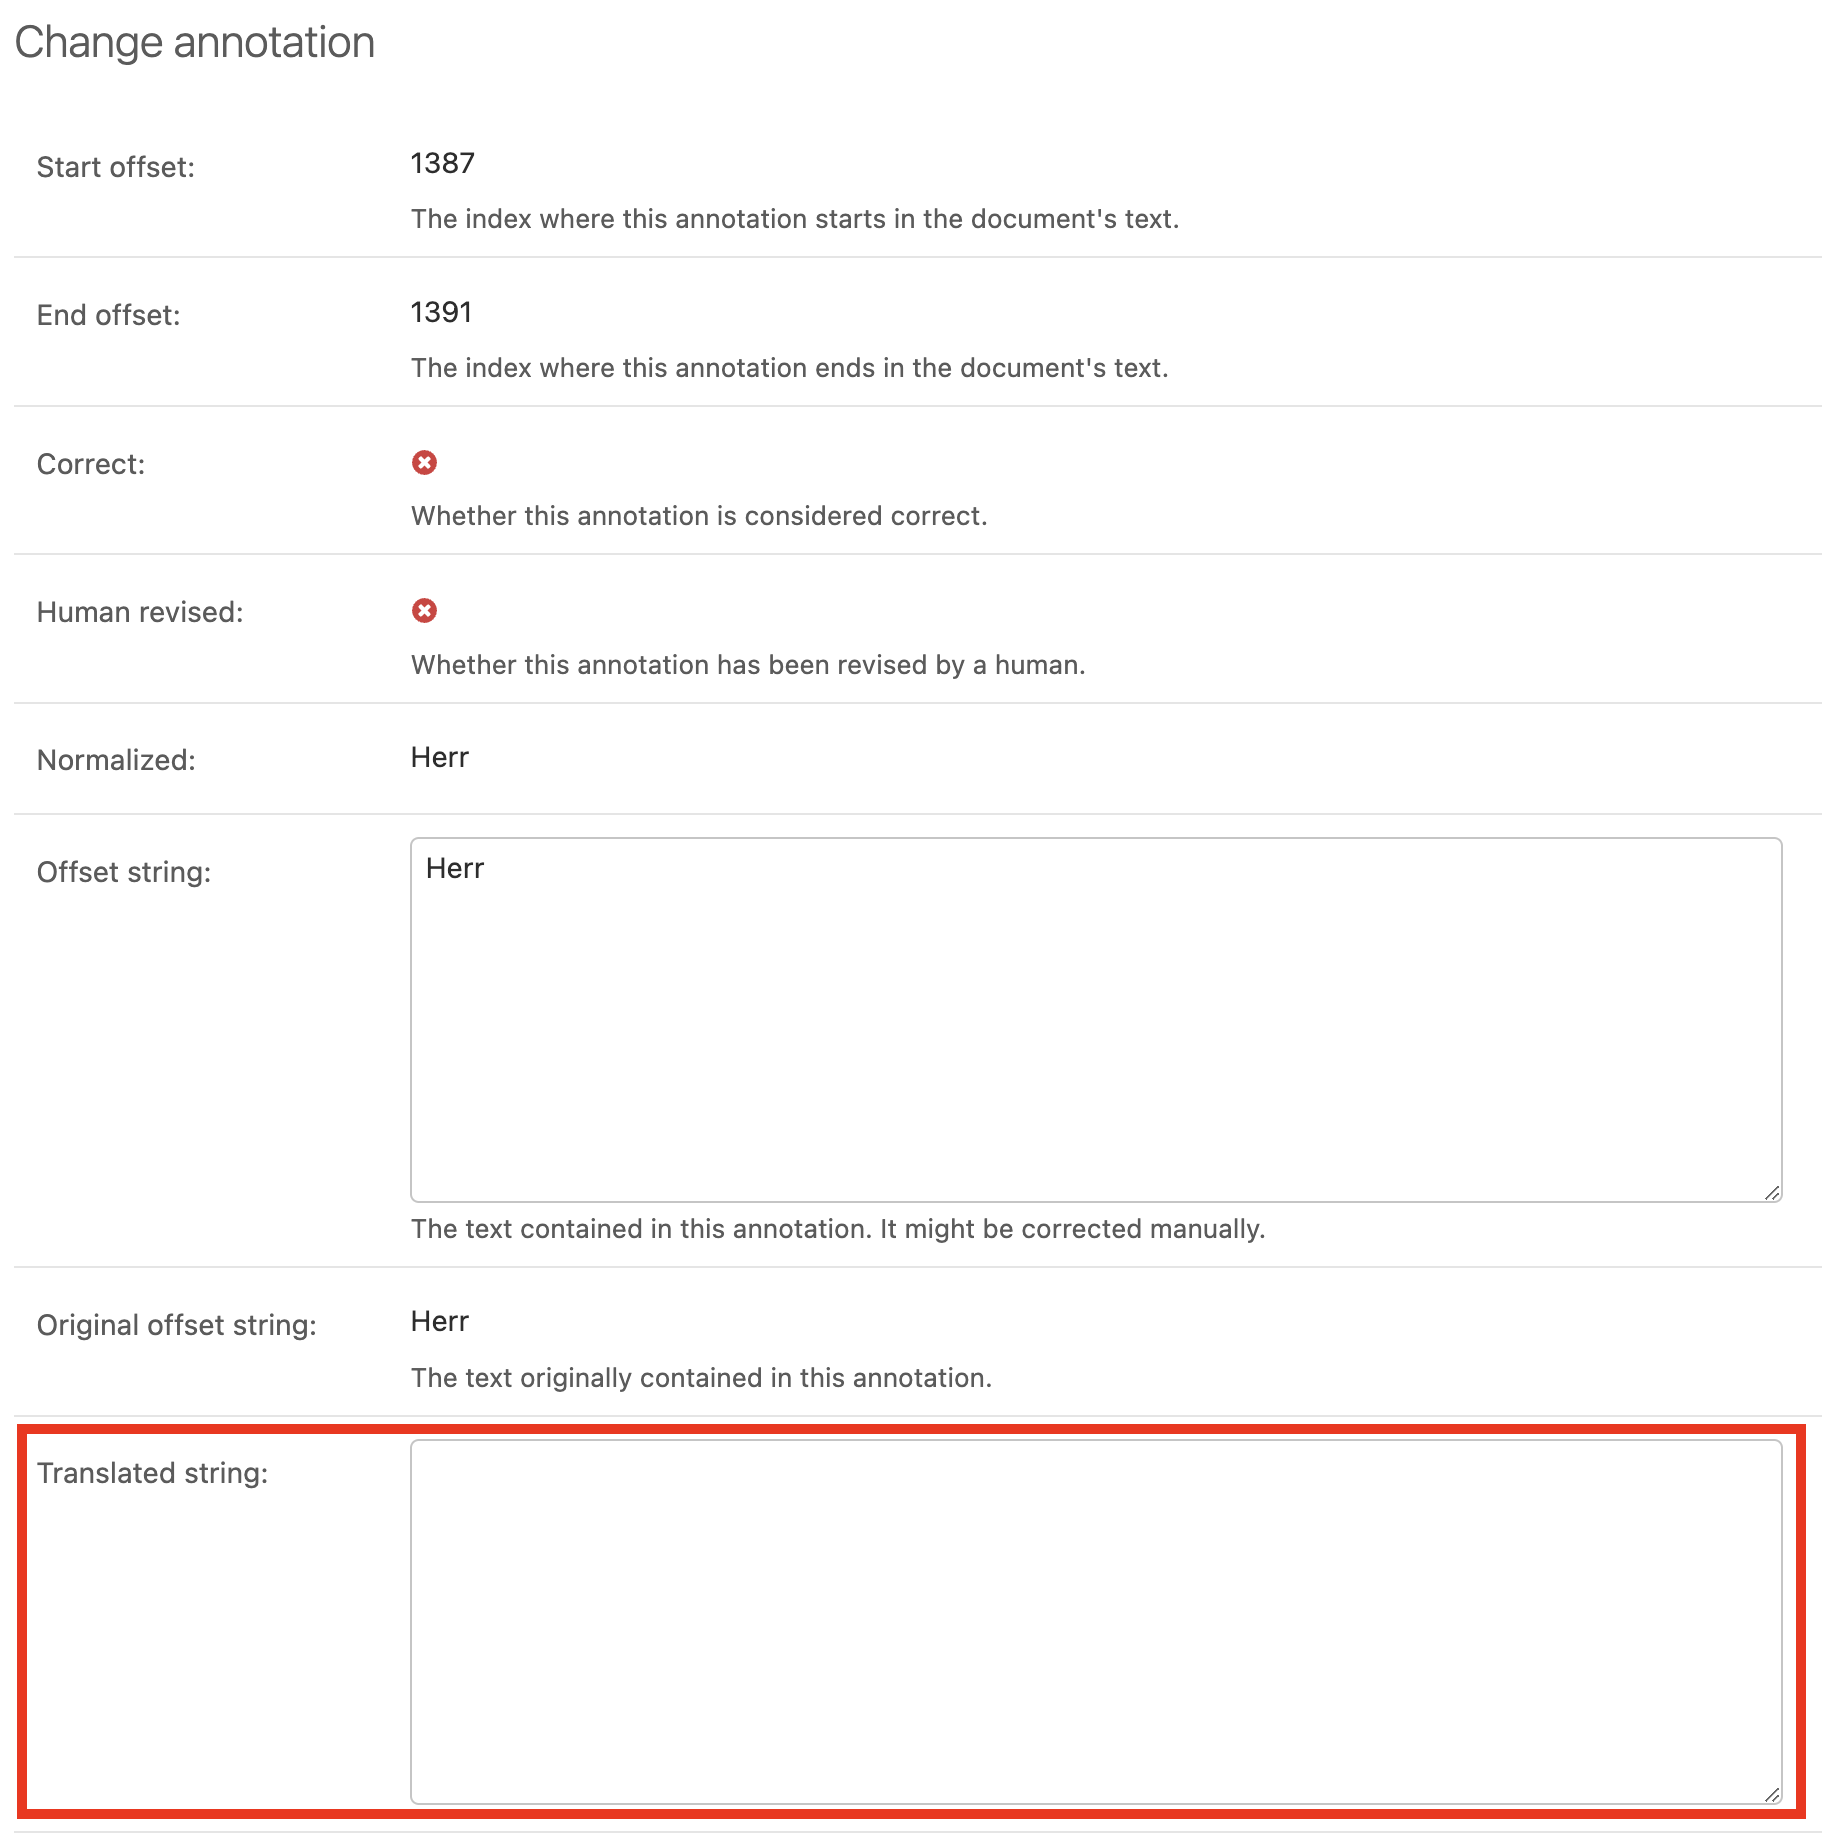
When adding a translated string to an Annotation, be aware that subsequent Annotations with the same value and sharing the same Label will inherit this translation by default. Exercise caution when editing the text of an Annotation that has a translated string, since the translated string will be unaltered by this edit.